How To Prepare Your Floor for Epoxy

How should you prepare your floor for epoxy?
- Assess your floor’s condition
- Clean your surfaces thoroughly
- Repair any cracks and holes
- Select a surface preparation method
- Do a final cleaning and drying
Overview
- Proper floor preparation is essential for a successful epoxy flooring installation. Start by inspecting for cracks, holes, and moisture issues. Clean the surface thoroughly, addressing stains and grease, and repair any imperfections.
- Choose the right surface preparation method—mechanical, chemical, or acid etching—and finish with final cleaning and drying for optimal adhesion.
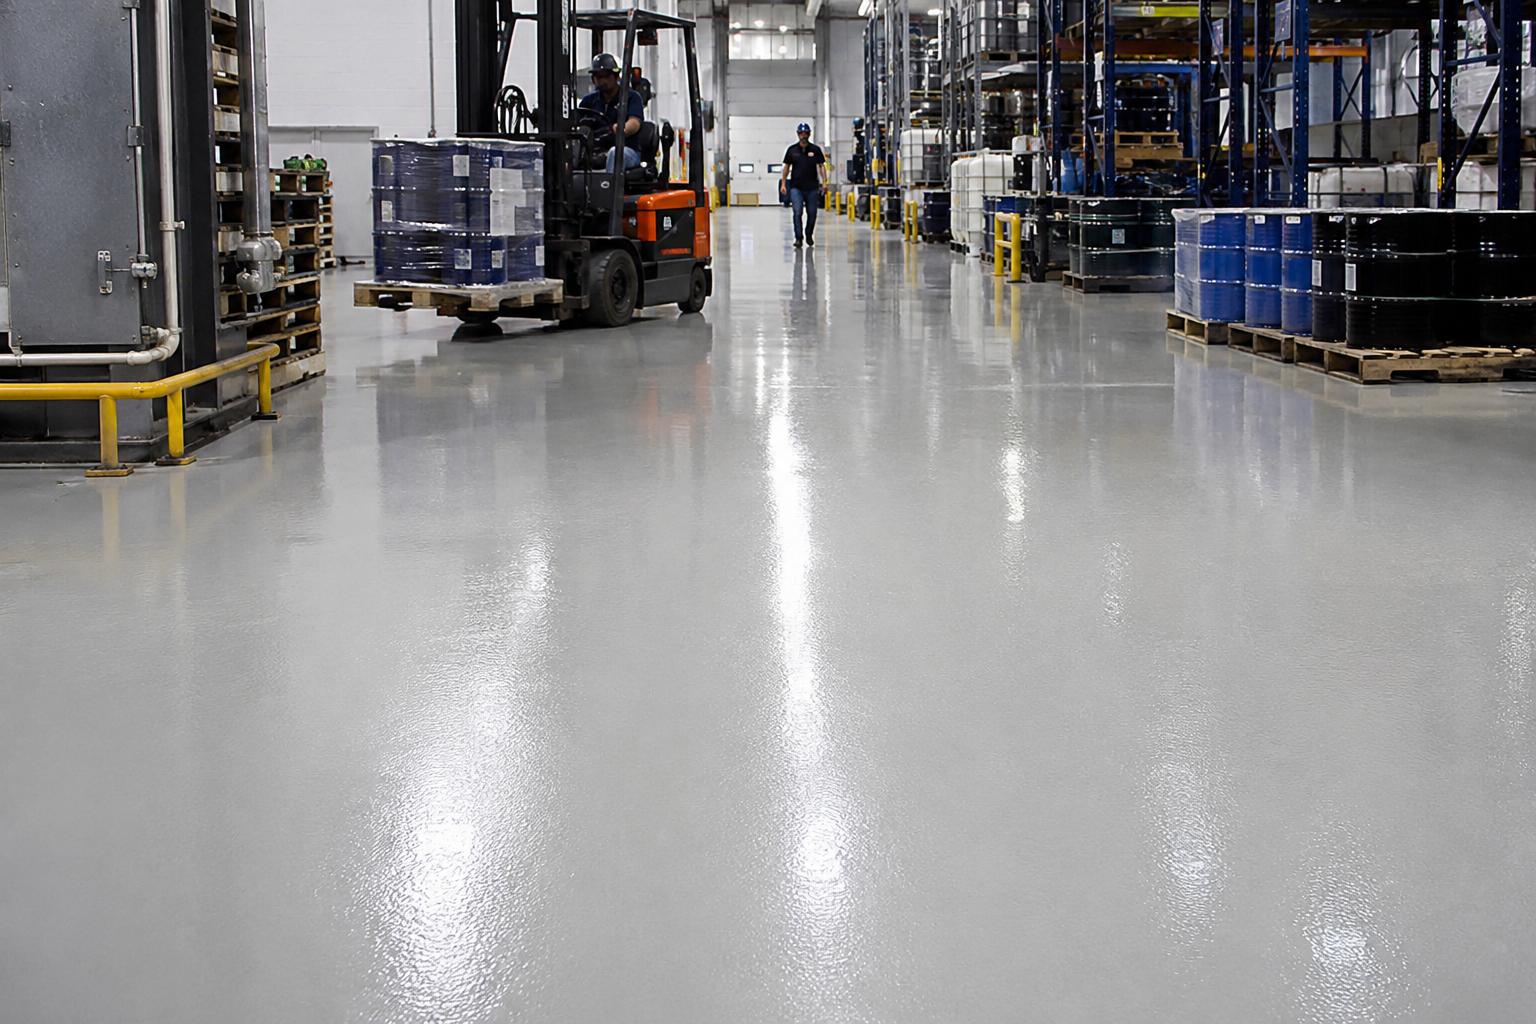
When installing epoxy flooring, preparation is key to achieving a smooth, durable finish. Properly preparing your floor ensures epoxy adheres effectively and performs well over time, minimizing the risk of peeling or damage.
With the right techniques and steps, you can transform your space and extend the life of your flooring investment. That’s why in this article, we’ll walk you through how to prepare your floor for epoxy so you can enjoy a stunning, resilient floor that enhances the functionality and aesthetics of your space for years to come.
Assess Your Floor’s Condition

Before installing epoxy flooring, it’s essential to assess the condition of your floor. Look for visible damage such as cracks, holes, or uneven areas. Here are some simple steps to conduct a thorough inspection:
Visual Inspection: Use a flashlight to check for cracks, chips, or other damage that might not be immediately visible.
Moisture Test: Use a moisture meter to check for excessive moisture, which can affect the bond of the epoxy.
Surface Profile: Use a profile gauge to assess the surface texture. A rougher surface ensures better adhesion for the epoxy coating.
If you find any damage, repair it before applying the epoxy. This will ensure a smooth and long-lasting finish.
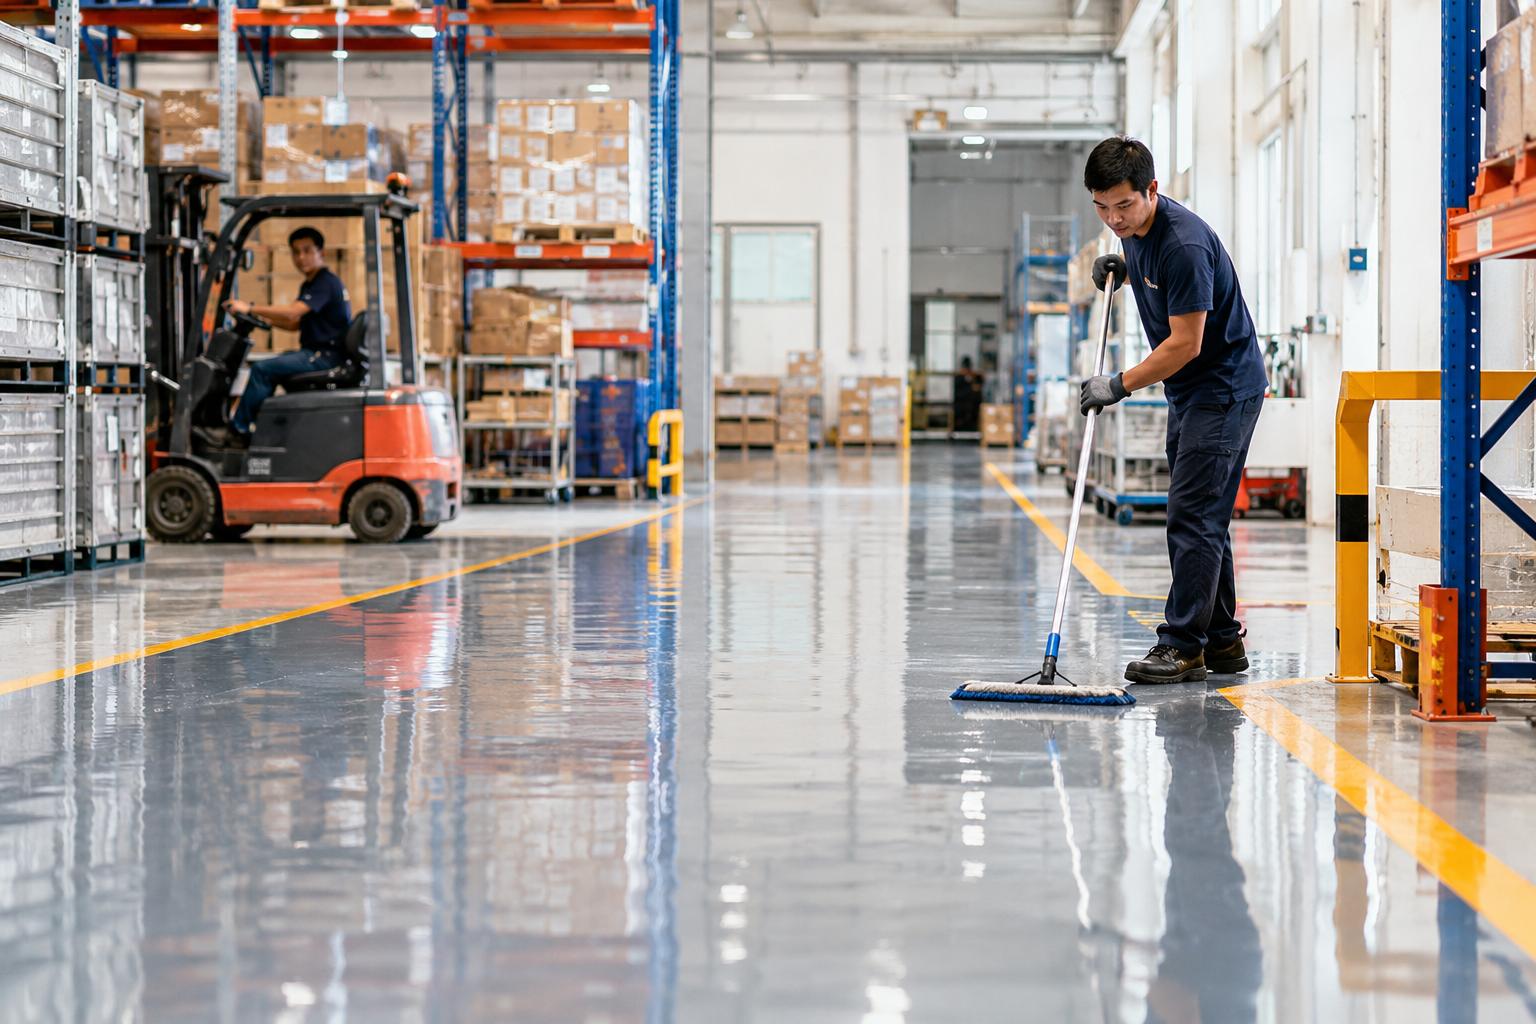
Clean Your Surfaces Thoroughly
After assessing your floor’s condition, the next step is to thoroughly clean the surface. A clean floor is essential for proper epoxy adhesion, so ensure you give this step the attention it deserves.
Begin by sweeping or vacuuming to remove dust, dirt, and debris, paying close attention to corners and edges where dirt can accumulate. Once loose dirt is removed, proceed with a deeper clean.
Depending on your floor type, use a mop with a pH-neutral cleaner or degreaser to address stains, grease, and oil spills. For concrete floors, a pressure washer can effectively remove stubborn grime. Be sure to follow the cleaner’s instructions for optimal results.
Repair Any Cracks and Holes
Neglecting floor imperfections can cause issues like moisture infiltration or uneven surfaces. Inspect your floor for visible cracks, chips, or holes—especially in concrete.
For repairs, use a concrete patching compound for larger cracks or holes, following the manufacturer’s instructions for proper mixing and application.
A concrete sealant may be sufficient for hairline cracks. After the repairs have cured, which usually takes about 24 hours, lightly sand the repaired areas to ensure they are flush with the surrounding surface. This step will help create a seamless finish once the epoxy is applied.
Select a Surface Preparation Method
Selecting the proper surface preparation method is key to successful epoxy flooring application. The choice depends on your floor type and condition. Here are some preparation methods to consider:
Mechanical Preparation
If your concrete floor has heavy dust, grease, or other contaminants, mechanical methods like shot blasting or diamond grinding are effective. These techniques remove the top layer of the concrete, creating a rough surface that enhances the adhesion of the epoxy.
Chemical Preparation
For floors that are in relatively good condition but may have some minor stains or residues, chemical methods such as using a concrete etcher or degreaser can be beneficial. For instance, if your garage floor has oil stains, applying a degreaser will help clean the surface, making it ready for the epoxy application.
Acid Etching
This method involves using a solution of muriatic acid to prepare the concrete surface. Acid etching effectively roughens the surface, which improves epoxy bonding. However, it requires careful handling and thorough rinsing afterward to remove any residual acid.
Hand Scraping
For small areas or minor imperfections, hand scraping can be useful. This involves manually scraping away loose paint, debris, or other contaminants with a scraper or wire brush. It’s an effective method for preparing small patches before applying epoxy.
Do a Final Cleaning and Drying

Once you’ve selected the appropriate surface preparation method, the next crucial step is final cleaning and drying. This ensures the surface is free of dust, debris, and moisture before applying the epoxy. Here’s how to perform this final cleaning effectively:
Dust Removal
Start by sweeping or vacuuming the floor to remove any loose dust or dirt that may have accumulated during the preparation process. Make sure to get into the corners and edges where dirt often settles. A clean surface is essential for the epoxy to adhere properly.
Mopping
After dusting, mop the floor using a damp mop and a neutral cleaner. This will help to remove any remaining residues or contaminants. Avoid using harsh chemicals, as they can leave a film on the surface that may interfere with the epoxy’s adhesion.
Drying
Once the floor is clean, it’s crucial to let it dry completely. Epoxy requires a dry surface for optimal adhesion. Depending on the humidity and temperature, this may take several hours. To speed up the drying process, you can use fans or open windows to improve ventilation.
Key Takeaway
Learning how to prepare your floor for epoxy is essential for ensuring a durable and attractive finish. Each step plays a vital role in achieving a flawless and long-lasting result that will enhance both the appearance and functionality of your space.
At Flooring Solutions, we specialize in high-quality epoxy flooring and offer a variety of other flooring options tailored to meet your unique needs. Contact us today to discover how we can help transform your flooring project into a stunning reality!